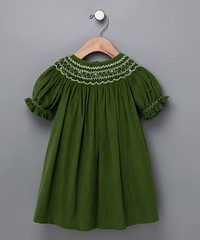
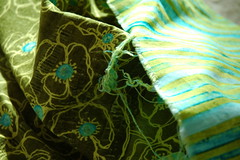
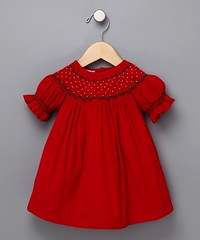
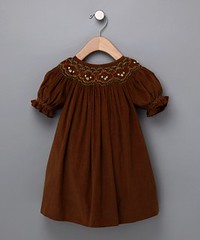
Good thing all of these were sold out or I would have been explaining to my husband why our daughter needed a $40 dress for her first Christmas.
These dresses are Hug Me First brand and were spotted on Zulily. When I saw they were hand smocked I thought that explained the price, but after looking around (even on ebay) it seems $40-100 is the going price for smocked dresses. Can it really be?
Wednesday, October 20, 2010
Wednesday, October 6, 2010
Nest
It just hit me this week that I might only have a few weeks before the baby comes. Or I might have a month and a half. But there is no way to know. We don't have basic baby clothes, or the crib set up, or diapers (or a decision on cloth vs. disposables). And I don't want to fill the house up with junk OR be unprepared, which means I need to think about how this all will work.
At the same time I want to finish all the spinning and knitting and home decorating projects that I wanted to do in the next five years RIGHT NOW because I am afraid that I won't get to do any of these things for the foreseeable future. Silly I know... I know lots of people who've had kids and been able to continue doing things they love. Some have done those things with their children, and some have found that these things have returned after a season. But I've promised people some handmade knits, and there are a few things I want to make for myself... and there are cute babies coming that will need to be snuggled in knitted sweaters.
The physical changes make it difficult to sleep, which is making the physical and mental work of adjusting just that much harder.
So I'm a bit of a nesting loose cannon right now.
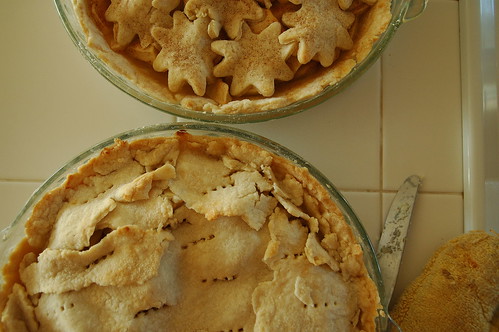
I might decide to buy 13lbs of apples at the grocery store for applesauce.
I might decide to make a pie, but make two when I cut up too many apples.
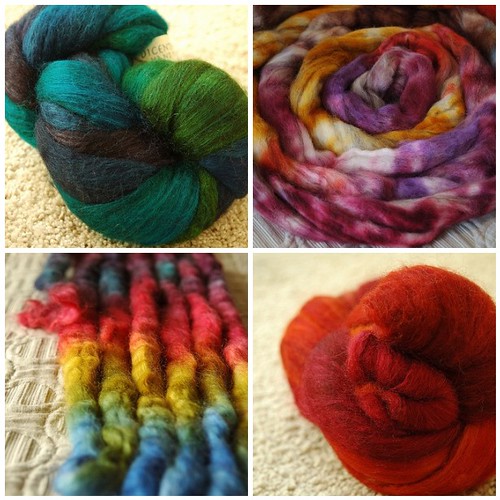
I might order a pile of gorgeous yarn that I won't have time to knit.
I might buy big heaps of fiber I don't have time to spin.
And photograph it.
Friday, September 17, 2010
#4 & The Nursery
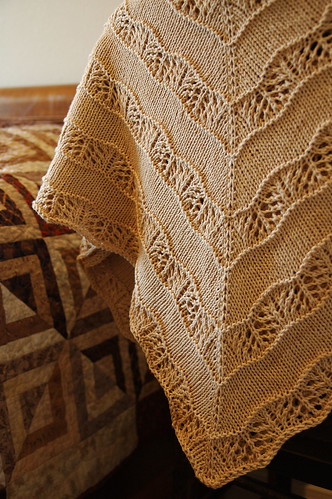
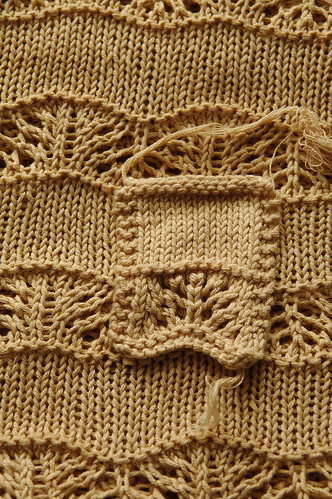
Some of you may recall the 10 Shawls in 2010 challenge. Two of those shawls have to be over 546 yds. This is my first big one. Big enough in fact, to use as a baby blanket :) Although you can't tell from these pictures, the shawl is square in shape and about 36 inches on a side.
Alpaca Baby Shawl
in Rowan Purelife Organic Cotton DK, 778 yds.
US 6 needles
I love the softness of this yarn, but I'm reserving final judgement on its long term value. It is naturally dyed and is therefore supposed to be hand washed and stored out of direct sun. If I had checked into the care instructions before purchasing (duh) I might have chosen something more hearty. As it is, I plan to wash and tumble dry the blanket as needed and live with the consequences. The swatch I put through the wash only lightened slightly, although the water did show dye release.
My other boo boo was that I failed to plan on how to join the yarn. It is a fairly thick yarn, has no bounce and little grab. It is spun in multiple very small plies. I tried the knitting with two strands together... too lumpy. Russian join, very obvious. Weaving in didn't seem likely to stay put. I decided to tie knots and clip the ends, which I did. Then I chickened out at the thought of my lovely baby blanket unraveling and went back and dabbed superglue on the knots. Final result: lots of very pokey, hard spots on my soft, yummy baby blanket. So... maybe this will be a decor only / heirloom blanket? Or I could use it inside out? Or the scratchy parts aren't as bad as I imagine? Time will tell.
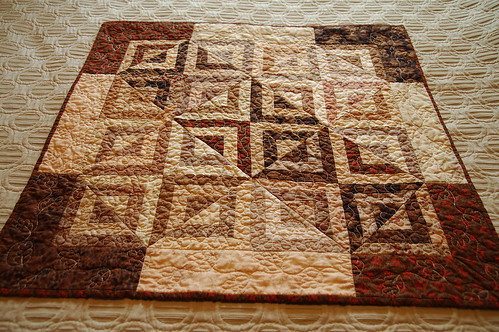
One thing that DOES thrill me about this yarn is how perfectly it matches my nursery color scheme. Maybe I should go back and mention where the idea came from... my mother-in-law made this amazing taupe wall quilt. She named it Taupe for Two and generously gave it to us :) When I found out we were expecting, I decided to use it as the focal point for the nursery. I think its gender neutral enough that if we have a boy it will still work. I also love the thought of quiet, warm colors for a snug little nursery. The shawl I knit coordinates with it and the artwork/frames/mats from earlier also pick up the tan color. I know the nursery is going to be full of all sorts of different colored things, but it is fun to put my stamp on some of it :)
Wednesday, September 15, 2010
One With The Yarn
A Very Small Sweater
Minutes after I told my husband we were expecting, we had this conversation:
Him: "So, are you going to knit something for the baby?"
Me: "But we don't know if it is a boy or a girl."
Him: "You could knit a brown sweater."
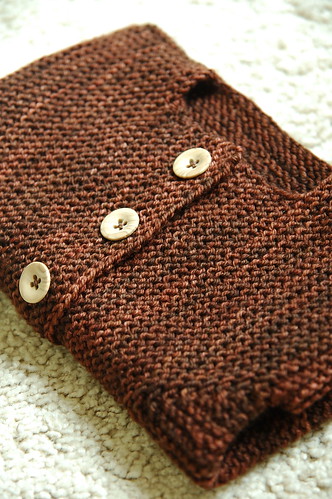
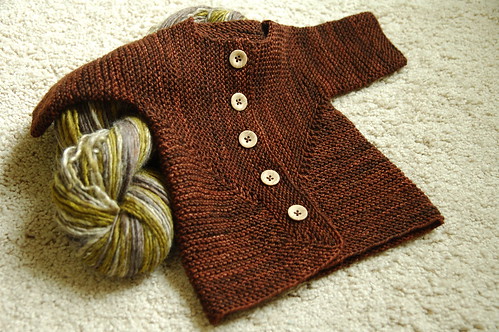
How could I refuse a suggestion like that? I did almost immediately start a brown baby sweater, but with pregnancy fatigue and pregnancy brain, I didn't get around to sewing on the buttons and photographing it until this week. So, here it is, the baby's official first sweater...
Knitting details are here. My major advice is to be careful with superwash yarn. I didn't block
my swatch and the sweater developed an unexpectedly floppy texture after washing. But no harm done.
Wednesday, August 18, 2010
Apparently...
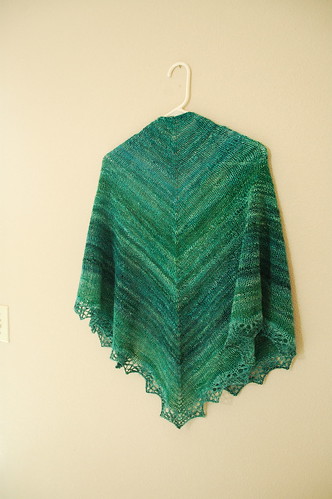
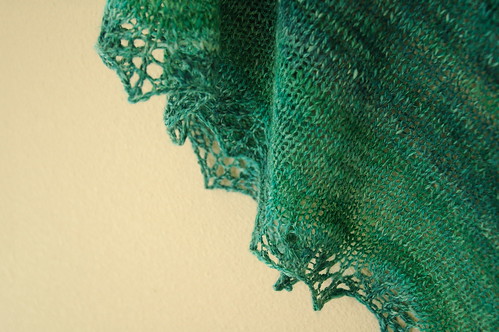
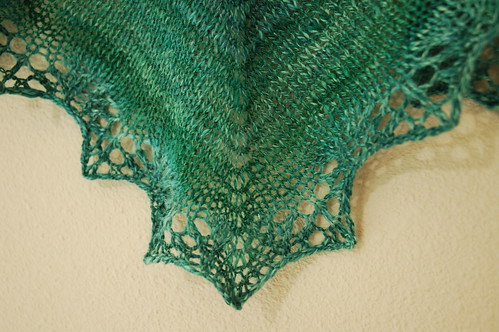
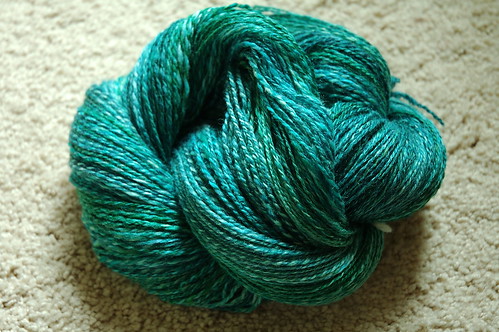
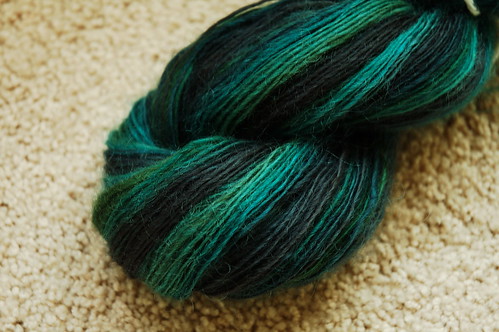
... I have a thing for blue green handspun. Isn't it funny how there is some deep part of one that loves certain colors and textures? And this time I'm not lamenting being "stuck in a rut"... I let myself create what felt right to make and that in itself is satisfying.
Knitting details here.
Sunday, August 1, 2010
Thursday, July 29, 2010
Epic Summer Sewing
(This picture looks dark because there isn't sun in July...)
This year the summer skirt bug was particularly virulent :) Not only did I have to have a skirt, it had to be a patchwork skirt (ie - a skirt that involved more cutting and sewing than I had ever done before). The monster is still not finished, but I thought I would take some notes here so that next time I want to sew a skirt (you know, in two or three years) I'll have some idea of what I did. This won't make sense unless you know the basics for sewing this kind of skirt, but there are plently of online tutorials that will tell you how better than I could...
My first decision was what size I wanted each square to be. I decided on larger squares (after sewing most of the blocks are 5.5 inches square) to suit my large print fabrics... and my desire not to sew a million tiny blocks together.
The skirt is sewn in tiers. What you see above is one of the tiers before I attached the first square to the last to form a ring. The mighty internet told me that to make a skirt like this I should start with my desired waist measurement and make each tier of the skirt 1.5 x longer.
I wanted the waist to be scrunched when worn, and I wanted this skirt to be suitable for maternity wear, so I measured a similar skirt I love and came up with a waist measurement of 50 inches. Um, yeah. This thing is huge. When I say epic, I mean it.
Then, using the measuring tape, I figured out how long I wanted the skirt to be. It was not an exact multiple of the square size I was using, so I made the top tier shorter.
I fiddled around with the numbers for increasing each tier. There was rounding. There was disbelief. There was a measuring tape. I came up with something that sounded big enough, but not too big. Not very technical but true. It is always a good idea to check your crafting math against reality. Otherwise you might end up with a skirt with a bottom circumference of 12 feet - and be surprised.
The most fun thing about this skirt was sewing all the squares into tiers. I knew I would make myself crazy if I tried to perfectly place each square based on its color relationship to the squares around it. So, I assigned each of my fabrics a number, then I had the random number generator at random.org generate a random sequence of the numbers 1-9. I did this 10 times. I just sat there with my blocks stacking them in the order dictated by the numbers.
The least fun part of this skirt was gathering each tier. Fortunately, the machine I am using has a special foot that makes it easier, but it is always hard to distribute the ruffles evenly. The best way seems to be to divide each tier equally into four parts. Then match pins of adjoining tiers and pin together. The larger tier is then scrunched up to fit around the smaller one. Pinning about every 1.5 inches will more or less keep things under control.
Actually sewing the tiers together is the sort of task that makes inexperienced (hormonal) sewers cry, so I just decided that I would do one or two a day and stop if anything when horribly wrong.
So now I'm to the point where I have tried on the skirt. It is full and swishy and wonderful. Now it needs elastic through the casing I made at the waist, a decent hem, and a lining. The lining was a surprise, but the layers of cotton gathered together make scratchy seams inside. So, there must be some way to add one...
Monday, July 19, 2010
Booties
Sunday, July 18, 2010
Adventures in Framing
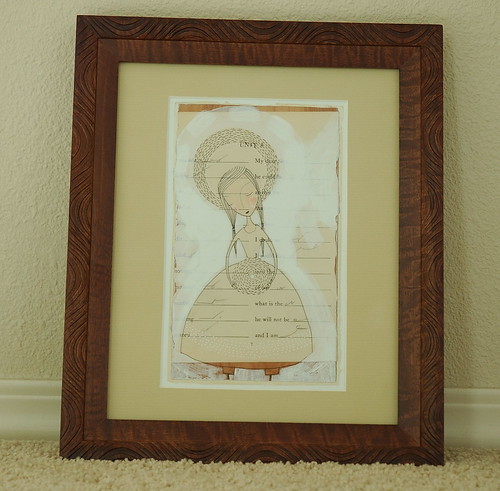
This year I came across the enchanting artwork of Cori Dantini. Many of her pieces (I think) involve painting and ink drawing over vintage paper. I love her sense of whimsy and the way that snatches of old novels or workbook pages turn into evocative little puzzles when only part of them peeks out...
This is her piece "and I am I" (purchased via her etsy shop). The main color for the nursery is going to be brown, so I decided to get this framed up to hang in there. Also, it reminds me of the joy of being able to nurture this little one inside me, so that makes it even more fitting :)
I'm no expert, but here is a bit about my process for matting a picture at home. I hope this can help someone else. At the very least I can use this as a reminder to myself of the things I learned this time!
1. I purchase mat board from the local custom frame shop. It costs $12-17 for a whole sheet - which is usually enough to frame 4-5 pictures (depending on size and mistakes).
2. We have the the Logan Graphics Craft & Hobby Mat Cutter 250. It is sturdy and simple to use. I like that it will cut a beveled edge in such a way that the corners meet up. Yea! It costs about $60, but that is well worth it if you frame stuff all the time.
3. I buy frames at W*lmart or R*ss Dress for Less. It is a good idea to take a tape measure, because frames that end up discounted are often a bit odd. The Fetco "Eco Home" frame I used for this project was labeled as an 8 x 10, but the frame opening is actually smaller. Not a problem for me in this case, but it is the sort of thing you have to look out for.
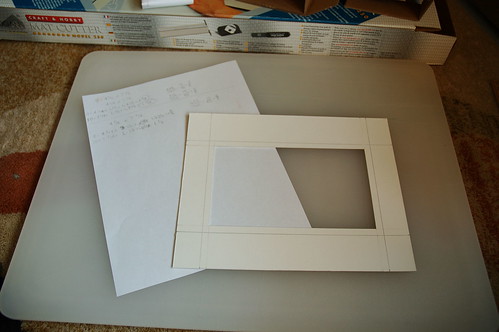
4. Once you cut your big mat into dimensions that will fit your frame, you trace the lines for the inner opening onto the back of your mat and cut using the bevel edge. Here I have cut out the mat, then traced new lines to make the opening bigger. Corrections like this are hard to make, but this one worked out.
5. Most framing places will tell you to subtract 1/4 to 1/2 an inch from each side of your artwork to get the inner dimension for the mat. Then the mat will actually be covering up the edge of your artwork. That may work well for large pieces, but for small ones, or ones with interesting edges, it seems silly. If you want to get REALLY close to the edge, but not off it, you will find that your tracing and cutting abilities are probably only good to about 1/8 of an inch. So you might have to re-cut the mat several times. Same if you want to be slightly away from the edge of your artwork, and leave an even opening all around.
When I first cut this mat to cover the edges, it really took the life out of the art:
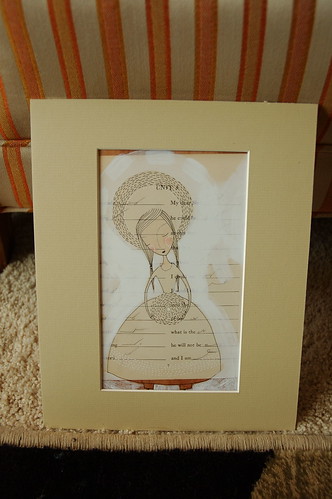
The edges are so textured...
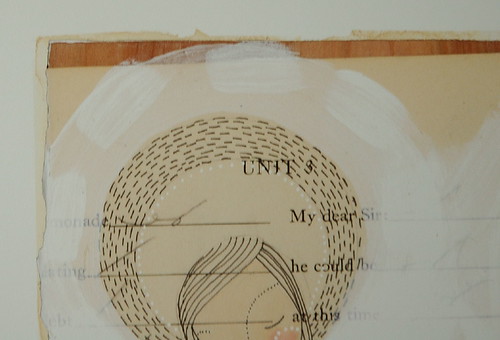
That is why I went back to make the opening larger.
6. Don't be discouraged when you cut a mat wrong. I cut out four nice mats and four losers!
7. Last tip: use "Goo Be Gone" to get the yucky price label gunk off your frame :) Then slip you mat and art inside, secure the back and enjoy!
P.S. I also have several other prints of hers that I am framing. More on the nursery to come!
Thursday, July 15, 2010
More From the Wheel
2.9 oz, 164 yds, from drumcarded batts made of Merino x Romney locks
Above in the background you can see one of my favorite spins ever - Hello Yarn Club "Red Velvet" (Shetland Wool Top, 4 oz Approx. 118 yds). There was a secret place in my heart that wanted a little girl to wear something made from this (though of course I have yarns for boys too!). I know that ultrasounds are not entirely reliable, so I'm not trying to keep most of my preparations gender neutral... but one small pink and brown sweater is okay, right?
I spun this yarn rather early in my spinning adventure and it is bulky and low yardage. Turns out there aren't many infant patterns for bulky yarn (not surprising), but I did finally stumble across a DROPS design here. I'm short on yardage, so I spun up the brown Merino x Romney locks. I'm not sure if I should do stripes or just make the front pink and the back brown. I'm planning on getting rid of the texture elements, so just the colors will give the sweater interest. Even if I modify the pattern a lot, it is good to have a gauge and some baby measurements to go by :)
Saturday, July 10, 2010
Tour de Fleece
For several years now, a group of spinners, linked by the internet, has celebrated the Tour de Fleece. Inspired by the athleticism of the Tour de France, these spinners set themselves challenging spinning goals and try to complete them during the time it takes the cyclists to complete their 2,200 mile race. You know what's funny? I thought the concept of the Tour de Fleece sounded perfectly normal until I just explained it here and imagined my non-fiberfiend friends reading about it.... ahem...
Anyway, I am not the stuff that Tour de Fleece champions are made of, but I have been inspired to finish a spinning project that has been on the wheel a while. I'm proud of this because it was a difficult fiber for me (superwash merino/silk) and because I managed to spin it more finely than any other fiber I've spun before :) Hurray!
Tidepool (fiber color by UrbanGypz)
350 yds / 4 oz
80/20 Superwash merino / silk
Friday, July 9, 2010
Rainbows & More
My sister baked this while she was visiting - she is pretty much made of awesome :)
As usual, summer is flying by too quickly. Camping in Arizona. 4th of July with family and friends. VBS (with 3rd & 4th graders!). Curriculum selection looms on the horizon, and of course 99 billion home projects... several of which involve nursery decor for a very small and precious person... making her first appearance here...
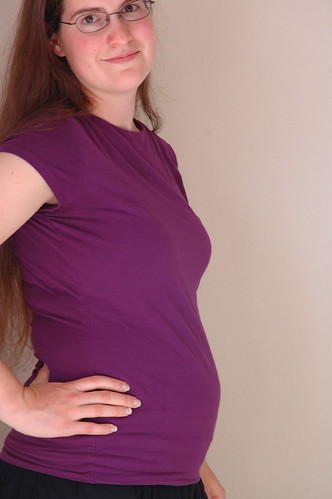
Dr. says he is 90% certain it is a girl. At 21 weeks she is making her presence felt with some belly jumping kicks :) If you are so inclined you can click over to my flickr for a few more belly photos.
Wednesday, June 9, 2010
Loving Right Now
Each season of life has its blessing, and its fun little rabbit trails of interest... right now I'm daydreaming about the end of school (no more math prep, no more worksheets) and ready for a change of seasons. In the spirit of carefree summer days, here are some of the things I'm enjoying right now...
Painted toenails (with or without flip-flops)
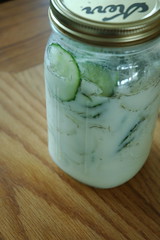
Home-made pickles. For me this is one of those refreshing summer tastes. I use these on my salad and the juice makes a great dressing.
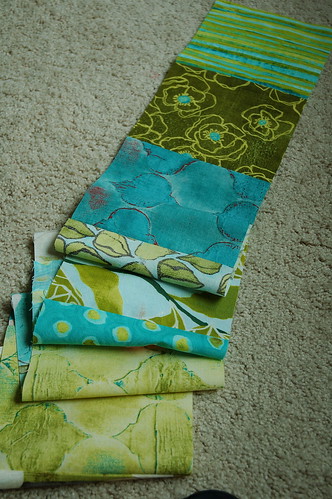
Patchwork skirts (I made an inspiration gallery on flickr if you want to check it out). It is finally almost warm enough to wear skirts, and I'm keeping myself going with a vision of a light, full, funky patchwork skirt in aqua, citron and olive. Totally not what the fashion experts advise, but a woman who has been wearing the same 3% of her wardrobe for months cannot be reasoned with. If you're wondering, these fabrics are by Laura Gunn.
Saturday, May 15, 2010
Lovely
That Was Random
So this is probably not the post you have all been waiting for, but I was up at 2:41 last night with a strange sensation in my ankles after lots of tossing and turning, so I'm just odd today!
I've been thinking about the last Fringe Episode: ***** SPOILERS*****
1. Continuitwhat?
Um, if the other Olivia looks so different, how was Olivia prime able to so easily flash over in her place last season? Or did everyone in alternate Fringe division just happen to have a change of hair-cut and dress code in the past year?
Also, it was SO much work to bring Walternate over, but then no problem to beam him and Peter back. "They have our coordinates?" Really?
In the much more advanced alternate reality, Charlie still got attacked by a monster, but they couldn't come up with a cure? Guess there's no substitute for Walter prime!
2. Cortexophan
On Polite Dissent it was mentioned that it seemed odd that this drug would look like diet Pepsi. Now we know why: if you happen to see that someone has a brown IV (as Peter does when he wakes up) you think you know what is in it. (Please let it be Cortexophan, please, please).
3. Normally skeptical Peter seems rather docile lately.
4. Poor expendable Cortexophan children. I was happy to see them back (and true to character). Didn't last long did it?
5. Anyone else sad that Pyro-girl didn't even get the satisfaction of taking one bad guy with her?
6. Anyone else feel like a lot more of this episode than usual needed subtitles?
I've been thinking about the last Fringe Episode: ***** SPOILERS*****
1. Continuitwhat?
Um, if the other Olivia looks so different, how was Olivia prime able to so easily flash over in her place last season? Or did everyone in alternate Fringe division just happen to have a change of hair-cut and dress code in the past year?
Also, it was SO much work to bring Walternate over, but then no problem to beam him and Peter back. "They have our coordinates?" Really?
In the much more advanced alternate reality, Charlie still got attacked by a monster, but they couldn't come up with a cure? Guess there's no substitute for Walter prime!
2. Cortexophan
On Polite Dissent it was mentioned that it seemed odd that this drug would look like diet Pepsi. Now we know why: if you happen to see that someone has a brown IV (as Peter does when he wakes up) you think you know what is in it. (Please let it be Cortexophan, please, please).
3. Normally skeptical Peter seems rather docile lately.
4. Poor expendable Cortexophan children. I was happy to see them back (and true to character). Didn't last long did it?
5. Anyone else sad that Pyro-girl didn't even get the satisfaction of taking one bad guy with her?
6. Anyone else feel like a lot more of this episode than usual needed subtitles?
Saturday, March 27, 2010
Not A Shawl
This stole doesn't quite meet the technical requirements for 10 Shawls in 2010 (not enough yardage), but I'm not at all sorry that I made it exactly like this.
If I had made it any wider the color repeats would have been shorter across the stole. And as it is I had enough yarn left over to make another scarf half as wide, which will make it easier to give the stole away as I intended.
The stats:
One row Lace Scarf
220 yds /69 grams of my handspun Wensleydale
Size 10 needles
Blocked to 11" by 66"
I did think that I could squeeze in a "true" shawl this month, but the lovely yarn I chose just isn't working with any of the patterns I've come up with. It is a bamboo/silk/merino blend with no bounce, low twist and lots of drape. One way or another though, I will get another shawl going for April.
Just one more shot... I couldn't resist!
Friday, March 19, 2010
Purse Dilemma
My old purse was purchased about 5 years ago and is starting to show its age.
I think I just heard my very fashionable sister sigh, and we can all pause to recognize that five years ago was about 1/3 of her life... anyway, yes, I am an old stick-in-the mud with an unfashionable purse. But now you can rescue me, if not from my fashion sense, at least from having a decrepit everyday accessory... I've been looking for months, and here's what I've got:
Pros: Purse very much like my current one. Small, can be worn across the body with a strap. It even comes in some other colors.
Cons: Boring. I've had a purse like this for 5 years.
See the etsy listing here.
Pros: This one is also small, but has only a short strap. I like the pleats.
Cons: Might find it a pain to carry around when grocery shopping.
Listed here.
Pros: This one I really love the style of.
Cons: I'm concerned that it is too big for me to use comfortably. Would I adjust to a purse 4x the size? Would it make my arm hurt? Would I feel stupid if my purse was cooler than the rest of my wardrobe? What will I do if I have one black purse and want to wear brown shoes?
Listed here.
Wednesday, March 17, 2010
Monday, March 8, 2010
The Sea
Thursday, March 4, 2010
Longwool
When Mohair first turned on me, I despaired of getting to knit with shiny, fuzzy yarns ever again. But I had underestimated wool. Sheep produce an amazing variety of fiber, a fact that is often lost in our age of mass production. It is still fairly rare that I will find a yarn that specifies the breed. If a breed is specified, the most common is Merino - a fiber known for its softness.
Becoming a spinner opened up a whole new world to me. Not only do different sheep breeds produce very different fibers, but what you get varies greatly depending on the flock, the sheep, and preparation of the fiber. In my spinning life I've mostly spun commercially prepared Bluefaced Leicester (BFL), a longwool that has greater sheen and durability than most Merino.
Last week I took my exploration of longwool to a new level. I tried out some Wensleydale (check out the pictures of sheep with ringlets). The majority of the fibers were about 7 inches long. That must be quite a wool coat when the sheep is still wearing it! I got 360 yards of singles from 4 oz. The final yarn is shiny and has a huge halo (since these photos I've started knitting with it and the halo just grows and grows). To the uninitiated, I imagine it looks just like Mohair... hurray!
Subscribe to:
Posts (Atom)