

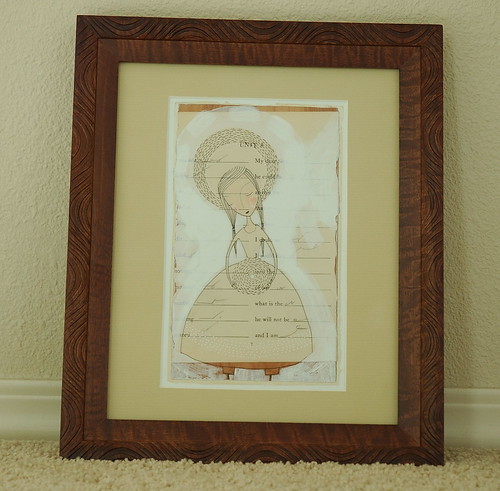
This is her piece "and I am I" (purchased via her etsy shop). The main color for the nursery is going to be brown, so I decided to get this framed up to hang in there. Also, it reminds me of the joy of being able to nurture this little one inside me, so that makes it even more fitting :)
I'm no expert, but here is a bit about my process for matting a picture at home. I hope this can help someone else. At the very least I can use this as a reminder to myself of the things I learned this time!
1. I purchase mat board from the local custom frame shop. It costs $12-17 for a whole sheet - which is usually enough to frame 4-5 pictures (depending on size and mistakes).
2. We have the the Logan Graphics Craft & Hobby Mat Cutter 250. It is sturdy and simple to use. I like that it will cut a beveled edge in such a way that the corners meet up. Yea! It costs about $60, but that is well worth it if you frame stuff all the time.
3. I buy frames at W*lmart or R*ss Dress for Less. It is a good idea to take a tape measure, because frames that end up discounted are often a bit odd. The Fetco "Eco Home" frame I used for this project was labeled as an 8 x 10, but the frame opening is actually smaller. Not a problem for me in this case, but it is the sort of thing you have to look out for.
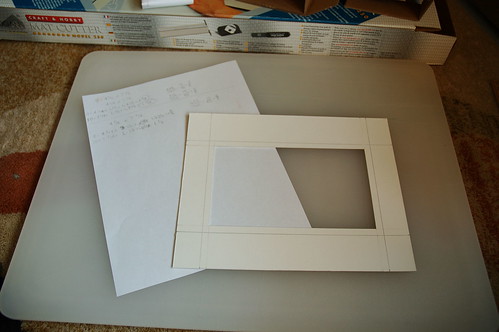
4. Once you cut your big mat into dimensions that will fit your frame, you trace the lines for the inner opening onto the back of your mat and cut using the bevel edge. Here I have cut out the mat, then traced new lines to make the opening bigger. Corrections like this are hard to make, but this one worked out.
5. Most framing places will tell you to subtract 1/4 to 1/2 an inch from each side of your artwork to get the inner dimension for the mat. Then the mat will actually be covering up the edge of your artwork. That may work well for large pieces, but for small ones, or ones with interesting edges, it seems silly. If you want to get REALLY close to the edge, but not off it, you will find that your tracing and cutting abilities are probably only good to about 1/8 of an inch. So you might have to re-cut the mat several times. Same if you want to be slightly away from the edge of your artwork, and leave an even opening all around.
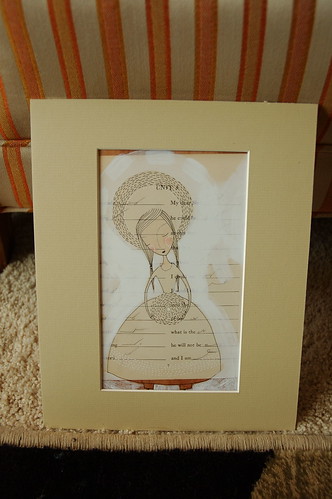
When I first cut this mat to cover the edges, it really took the life out of the art:
The edges are so textured...
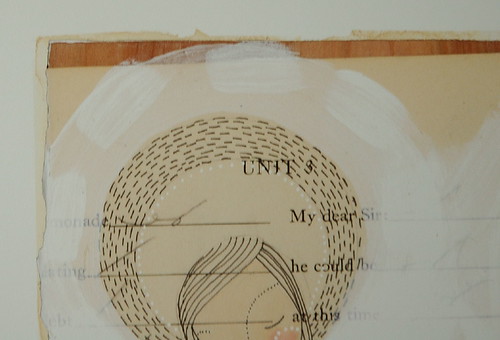
That is why I went back to make the opening larger.
6. Don't be discouraged when you cut a mat wrong. I cut out four nice mats and four losers!
7. Last tip: use "Goo Be Gone" to get the yucky price label gunk off your frame :) Then slip you mat and art inside, secure the back and enjoy!
P.S. I also have several other prints of hers that I am framing. More on the nursery to come!

No comments:
Post a Comment